Gouache painting tutorial for beginners
How to paint a bird step by step
Learn how to paint this bird with gouache painting. You’ll learn how to make textures with a brush and a palette knife. Happy painting!
Table of Contents
- Supply list
- Drawing the bird
- Painting the background
- Painting the bushes
- Painting the bird
- Painting the wood
- Do you want more?
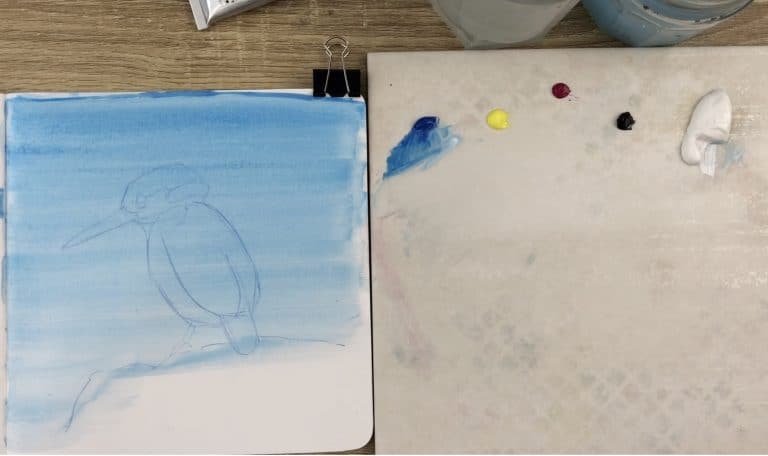
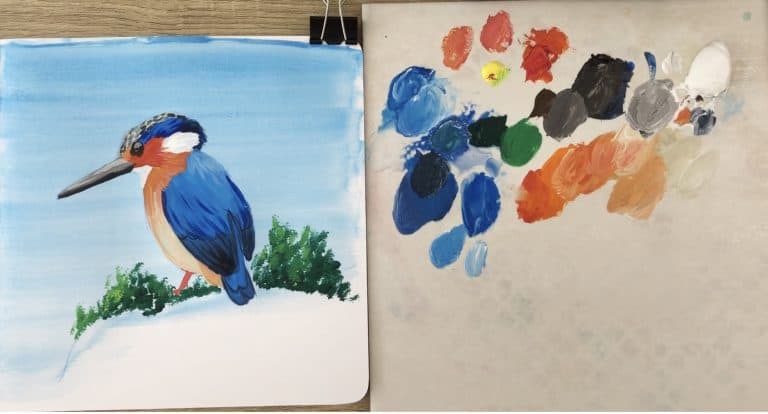
Supply list
3 primary colors: lemon yellow, primary blue, tyrian rose, white, black, ultramarine blue, burnt umber, yellow ocher. A round and a flat brush, a fine brush, a palette knife.
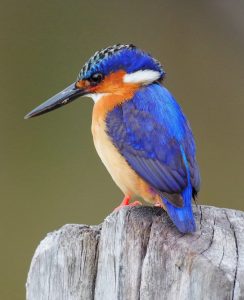
This is the bird we are going to paint. And I would say the photo will inspire us, but we won’t copy it exactly. You can download the image here, it’s a copyright-free image by Bob Brewer on Unsplash. Meaning that you can use the image for your art, even to sell it and publish on social media.
Drawing the bird

The first thing is to draw roughly the bird, just to place the different elements. I will use a colored pencil for that. I’ll get a blue, just because it will merge with the color of the feathers.
I make kind of a large oval for the body and smaller one for the head. Then the eye, and you can exaggerate a bit the shapes, make it more or less rounded, as you prefer.
Painting the background
As I said, I don’t want to copy exactly the image. The photo has a kind of a khaki background. I want to make a slightly light blue.The first thing to do is to make a mix for the sky and I’ll be using a flat brush.
Paint and place it everywhere where is the sky, including the shape of the bird, we’ll cover it later. Give some variation in the colors for more interest, adding a bit more of cobalt or ultramarine blue.
Painting the bushes
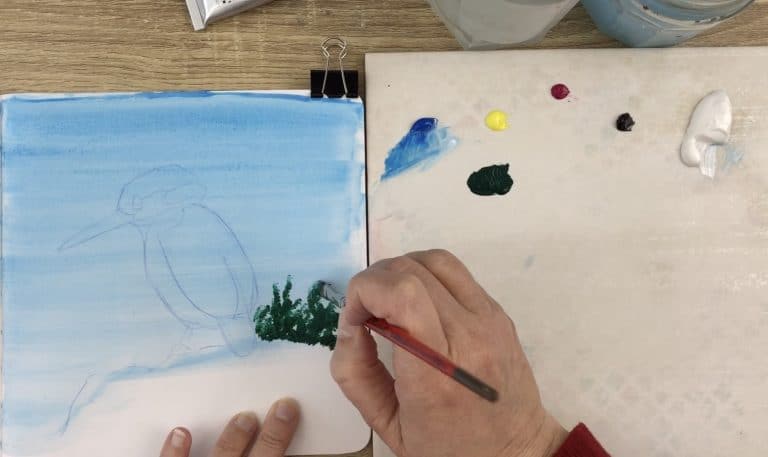
Now I will be using an old damaged brush because I want to place some kind of leaves behind the wood. I will grab a ready-made green, but you can make your own with blue and yellow.
The sky is not completely dry, and that’s fine, it will merge a bit the bushes inside. You don’t really need to make much, just make sure that you add some variation in the colors to show that the light is coming from one side.
Painting the bird
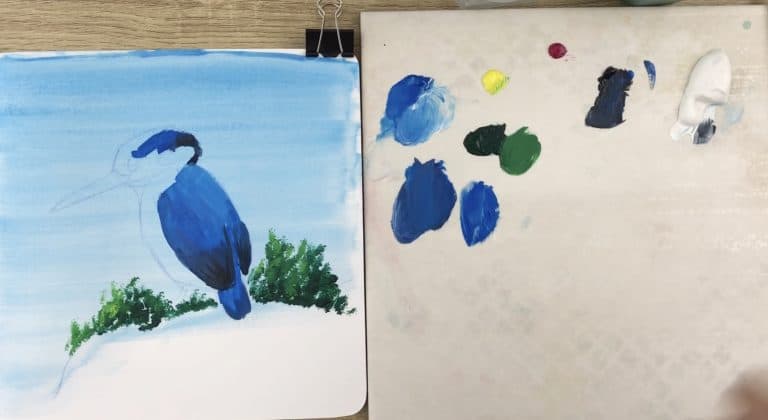
So let’s go for the bird. As always I’m using a flat brush just because this is what I love. I will begin by the darkest, which is a mix of ultra Marine and black. For the feathers get something a bit lighter and don’t bother about accuracy.
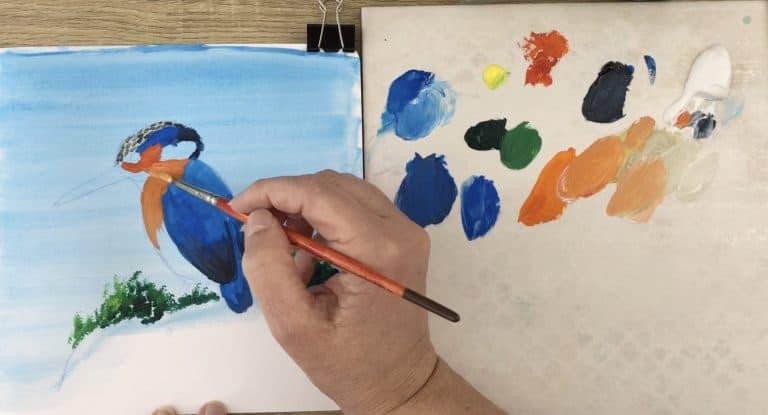
It’s important that you do the blue before the orange, because the orange feathers are on top of the blue one in the neck here. So you make the background first down, you place a second layer on top. You can use a very fine brush just to make some small feathers.
Painting the wood
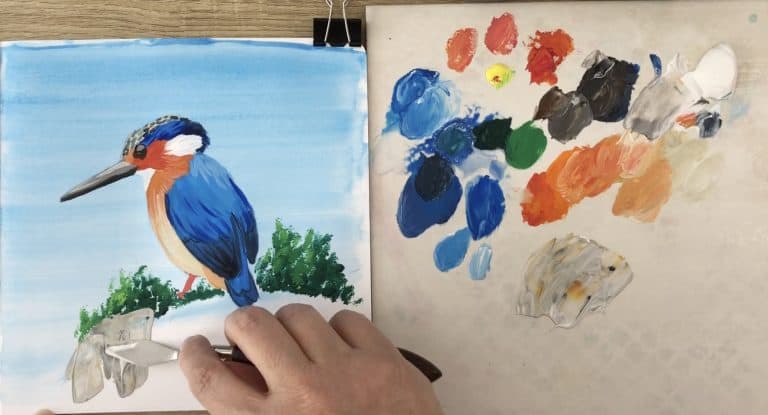
So let’s make the wood part and for this I will use my palette knife. So grab some white, some brown, some black, that you don’t need to mix too well. Use the edge of the knife to apply the painting, that’s quite thick, and be careful around the tail.
Do you want more?
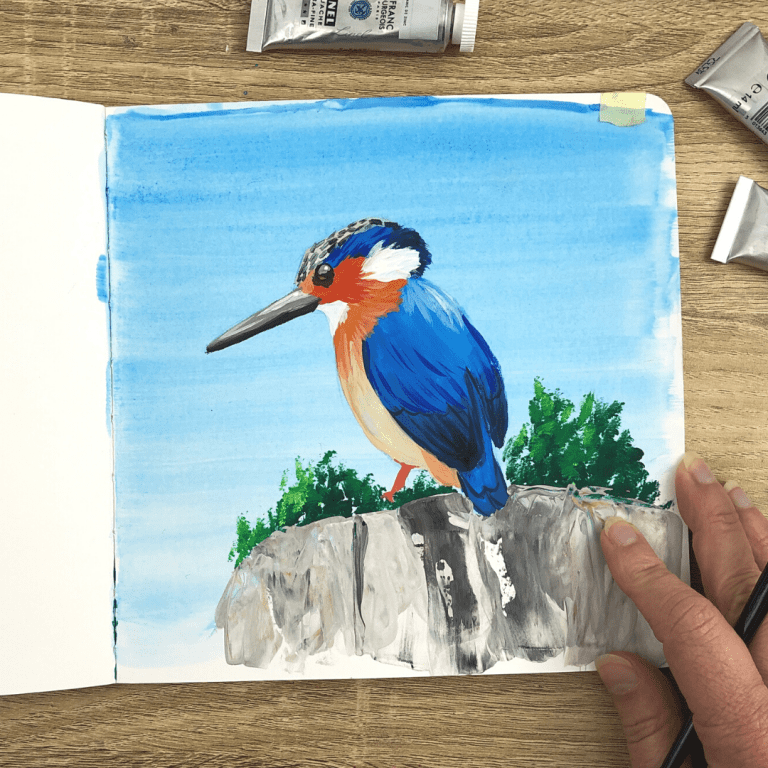
Here is the finished painting.
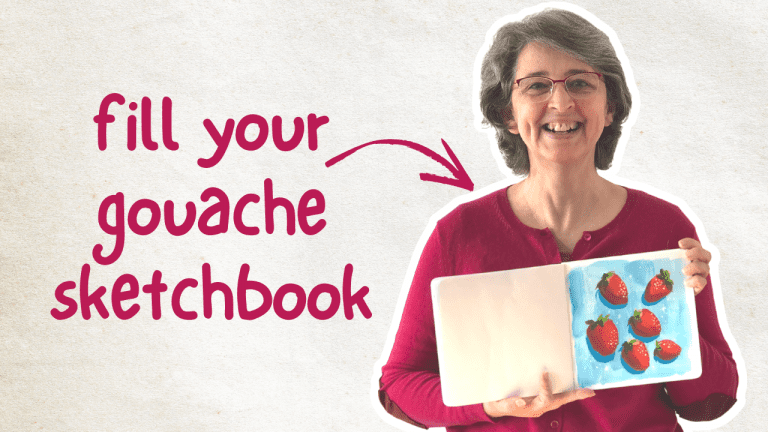
You can get more step-by-step tutorials for gouache painting here in my workshop ‘Fill your gouache sketchbook‘ with 15 tutorials.