Can you fix gouache mistakes?
No matter how careful you are with your paintings, mistakes happen. If you work with gouache, chances are that at some point, you’ll need to make corrections. Here are four steps to fix those little mistakes without starting from scratch:
- 1. Assess your painting before fixing it.
- 2. Clean the part you want to remove.
- 3. Add coverage.
- 4. Apply the new paint layer
- Conclusion
Disclaimer: This method works well with watercolor paper; if you’ve used thin paper, you won’t be able to save your mistake by applying it.
1. Assess your painting before fixing it.
Before removing the part you want to fix, you should first decide what you want to paint. This will make it easier to decide on a plan of action. Fixing mistakes is easier if you know what the replacement area should look like before painting it. If you’re having trouble deciding how to fix your gouache paintings, try doing some quick sketches first. If you have one, you can also use a drawing app to draw the desired artwork and have a good idea of what you want.

When you have determined what you want to fix precisely, draw with a hard pencil (2H, for example) the desired area on the paper. This will help you to know exactly where to paint when you’re ready to fix it. Draw inside the lines of the desired shape so that you can cover the pencil lines with gouache.

2. Clean the part you want to remove.
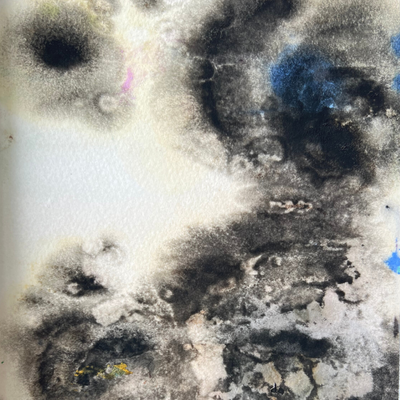
After the first layer of gouache has dried, you can erase any mistake by taking a clean brush and wetting the paper. Use a clean brush with clear water and gently rub the paint with the damp brush. This will reactivate the gouache and let you lift the color on your brush. Wipe the brush on a clean rag, clean in water, and do it again until you’ve removed most of the pigments.

As gouache has large particles of pigments, most of the paint sits on top of the paper, and it’s easy to remove. But at some point, you’ll get to the part where pigments are intertwined in the paper, and you won’t be able to clean it. Note that if you’re working on watercolor paper, you can do much more rubbing than delicate papers. Keep in mind the kind of paper you’re using to gauge how much pressure you should apply during this step of cleaning up your painting.
This is where you need to stop! Dab gently the paper to remove any excess humidity, do not rub too hard or in circles. Avoid rubbing in any direction, and do not rub for too long. Allow it to dry completely before moving to step 3.

3. Add coverage.
If the part you want to fix is darker than the background, you may have to use an intermediate layer of white to cover it. It is essential to use an opaque white. Not all white gouache has the same opacity, and you must check the symbol on the tubes to find the most opaque you have in your stash. Depending on the brand, it can be Titanium White, Permanent White, or any other fancy name!
Use a thick layer directly from the tube, and apply it gently to the part you want to cover. Let it dry.

4. Apply the new paint layer
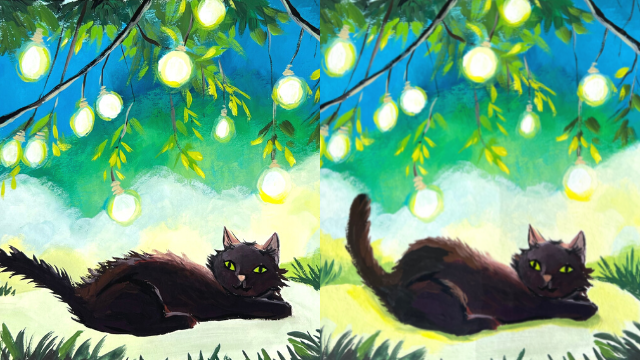
Using your previous sketch, add the correct layer of paint. Use thick paint and apply it without rubbing the paper, so you don’t lift the paint below. If you can use a single brushstroke, that’s perfect! The main difficulty here is finding the same color as before to match. It can be challenging to find the exact mix, but you can use another shade and paint it in the surrounding areas. Make sure to cover the pencil lines.
And here you are! Perfect fix, invisible to viewers, and a saved painting!

Conclusion
Now that you know how to fix mistakes in gouache, you can breathe a little easier. It’s important to remember that even though these techniques will help you clean up areas where paint has bled or gotten on the wrong spot, they won’t work for every situation, especially with thin papers.
You can also watch the video:


